’Tis the Season for Potato Chip-Crusted Fried Chicken
To celebrate Hanukkah, a recipe that goes big on frying from the Peas Love & Carrots cookbook.

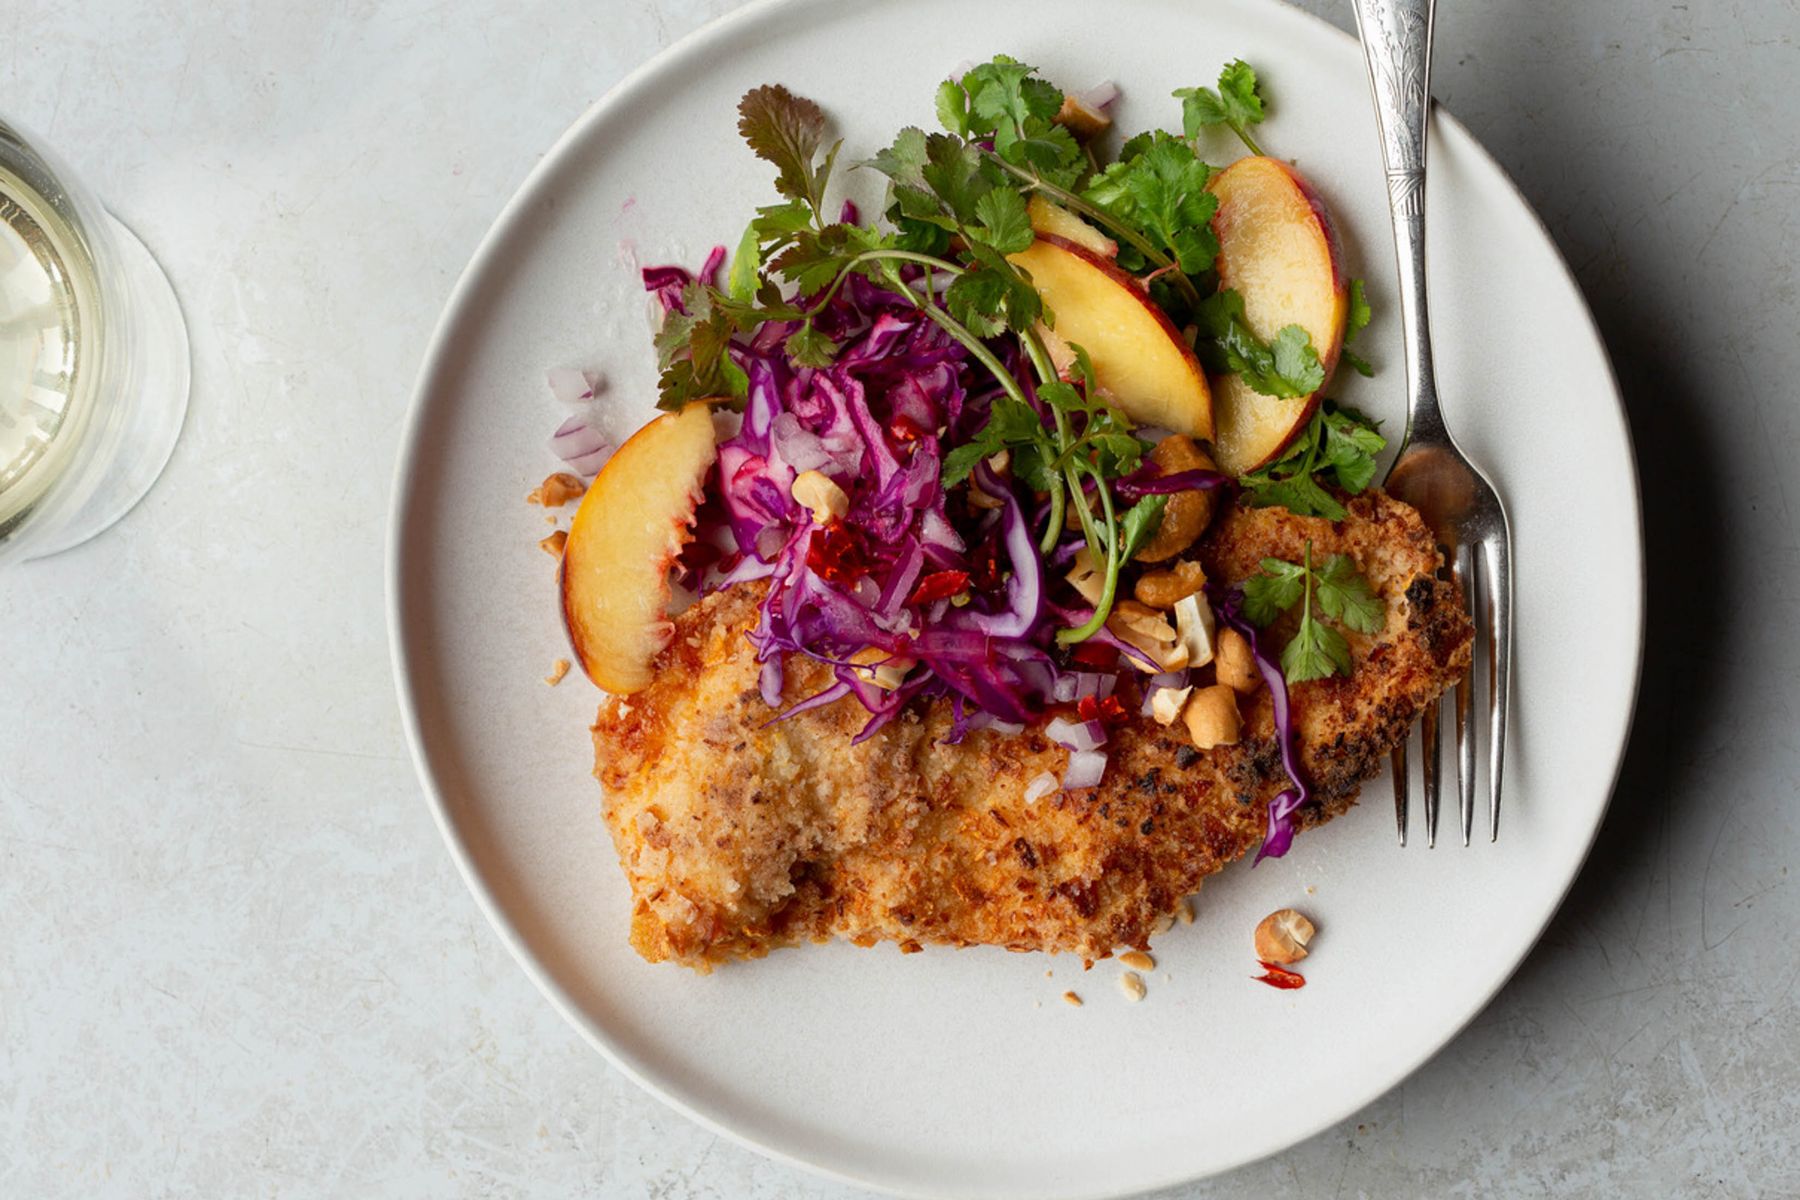
Potato chip schnitzel.
Photographer: Moshe Wulliger
Editor’s Note: As more people are working from home, Bloomberg Pursuits is running a weekly Lunch Break column that highlights a notable recipe from a favorite cookbook and the hack that makes it genius.
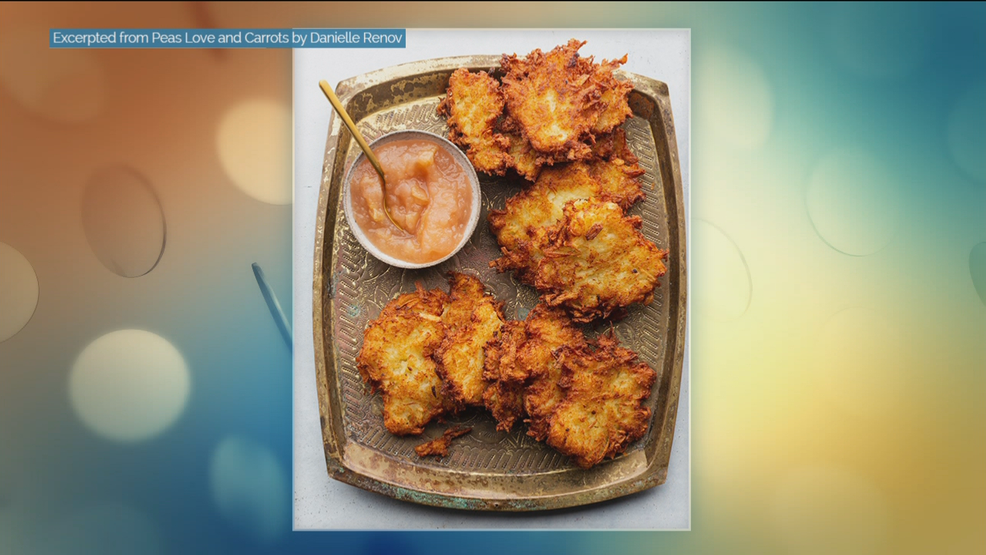
It is prime frying season, and that sound you hear is pans full of sizzling oil that have cooked infinite piles of latkes, the most traditional food for the start of Hanukkah.
But after the first night of the Jewish Festival of Lights, which began on Dec. 10, most people have a potato pancake hangover and are ready to move on. For them, and for anyone with a hankering for thin slices of meat fried in fat and taken over the top, Danielle Renov offers potato chip-crusted chicken schnitzel. That’s right: It’s fried chicken coated with an already fried product.
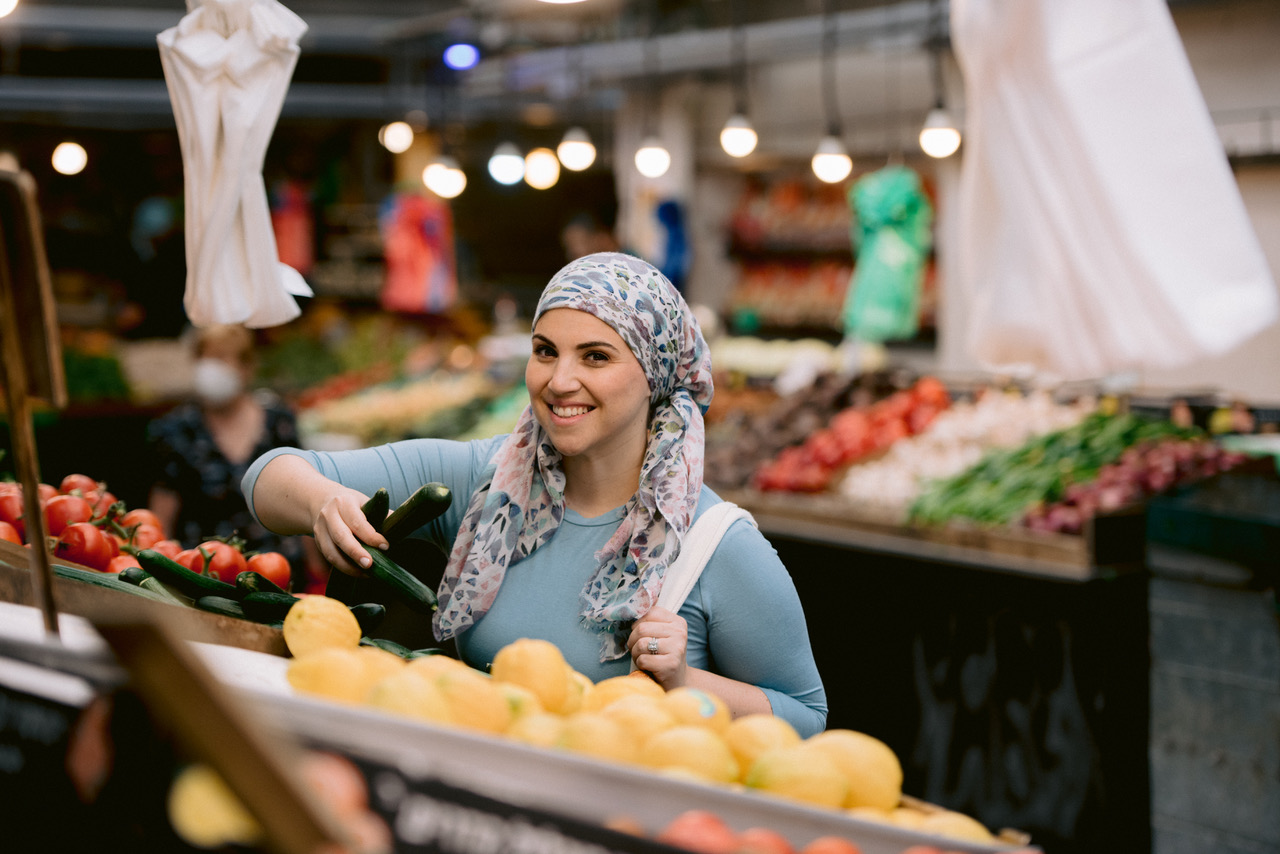
Danielle Renov, creator of potato chip schnitzel.
Photographer: Moshe Wulliger
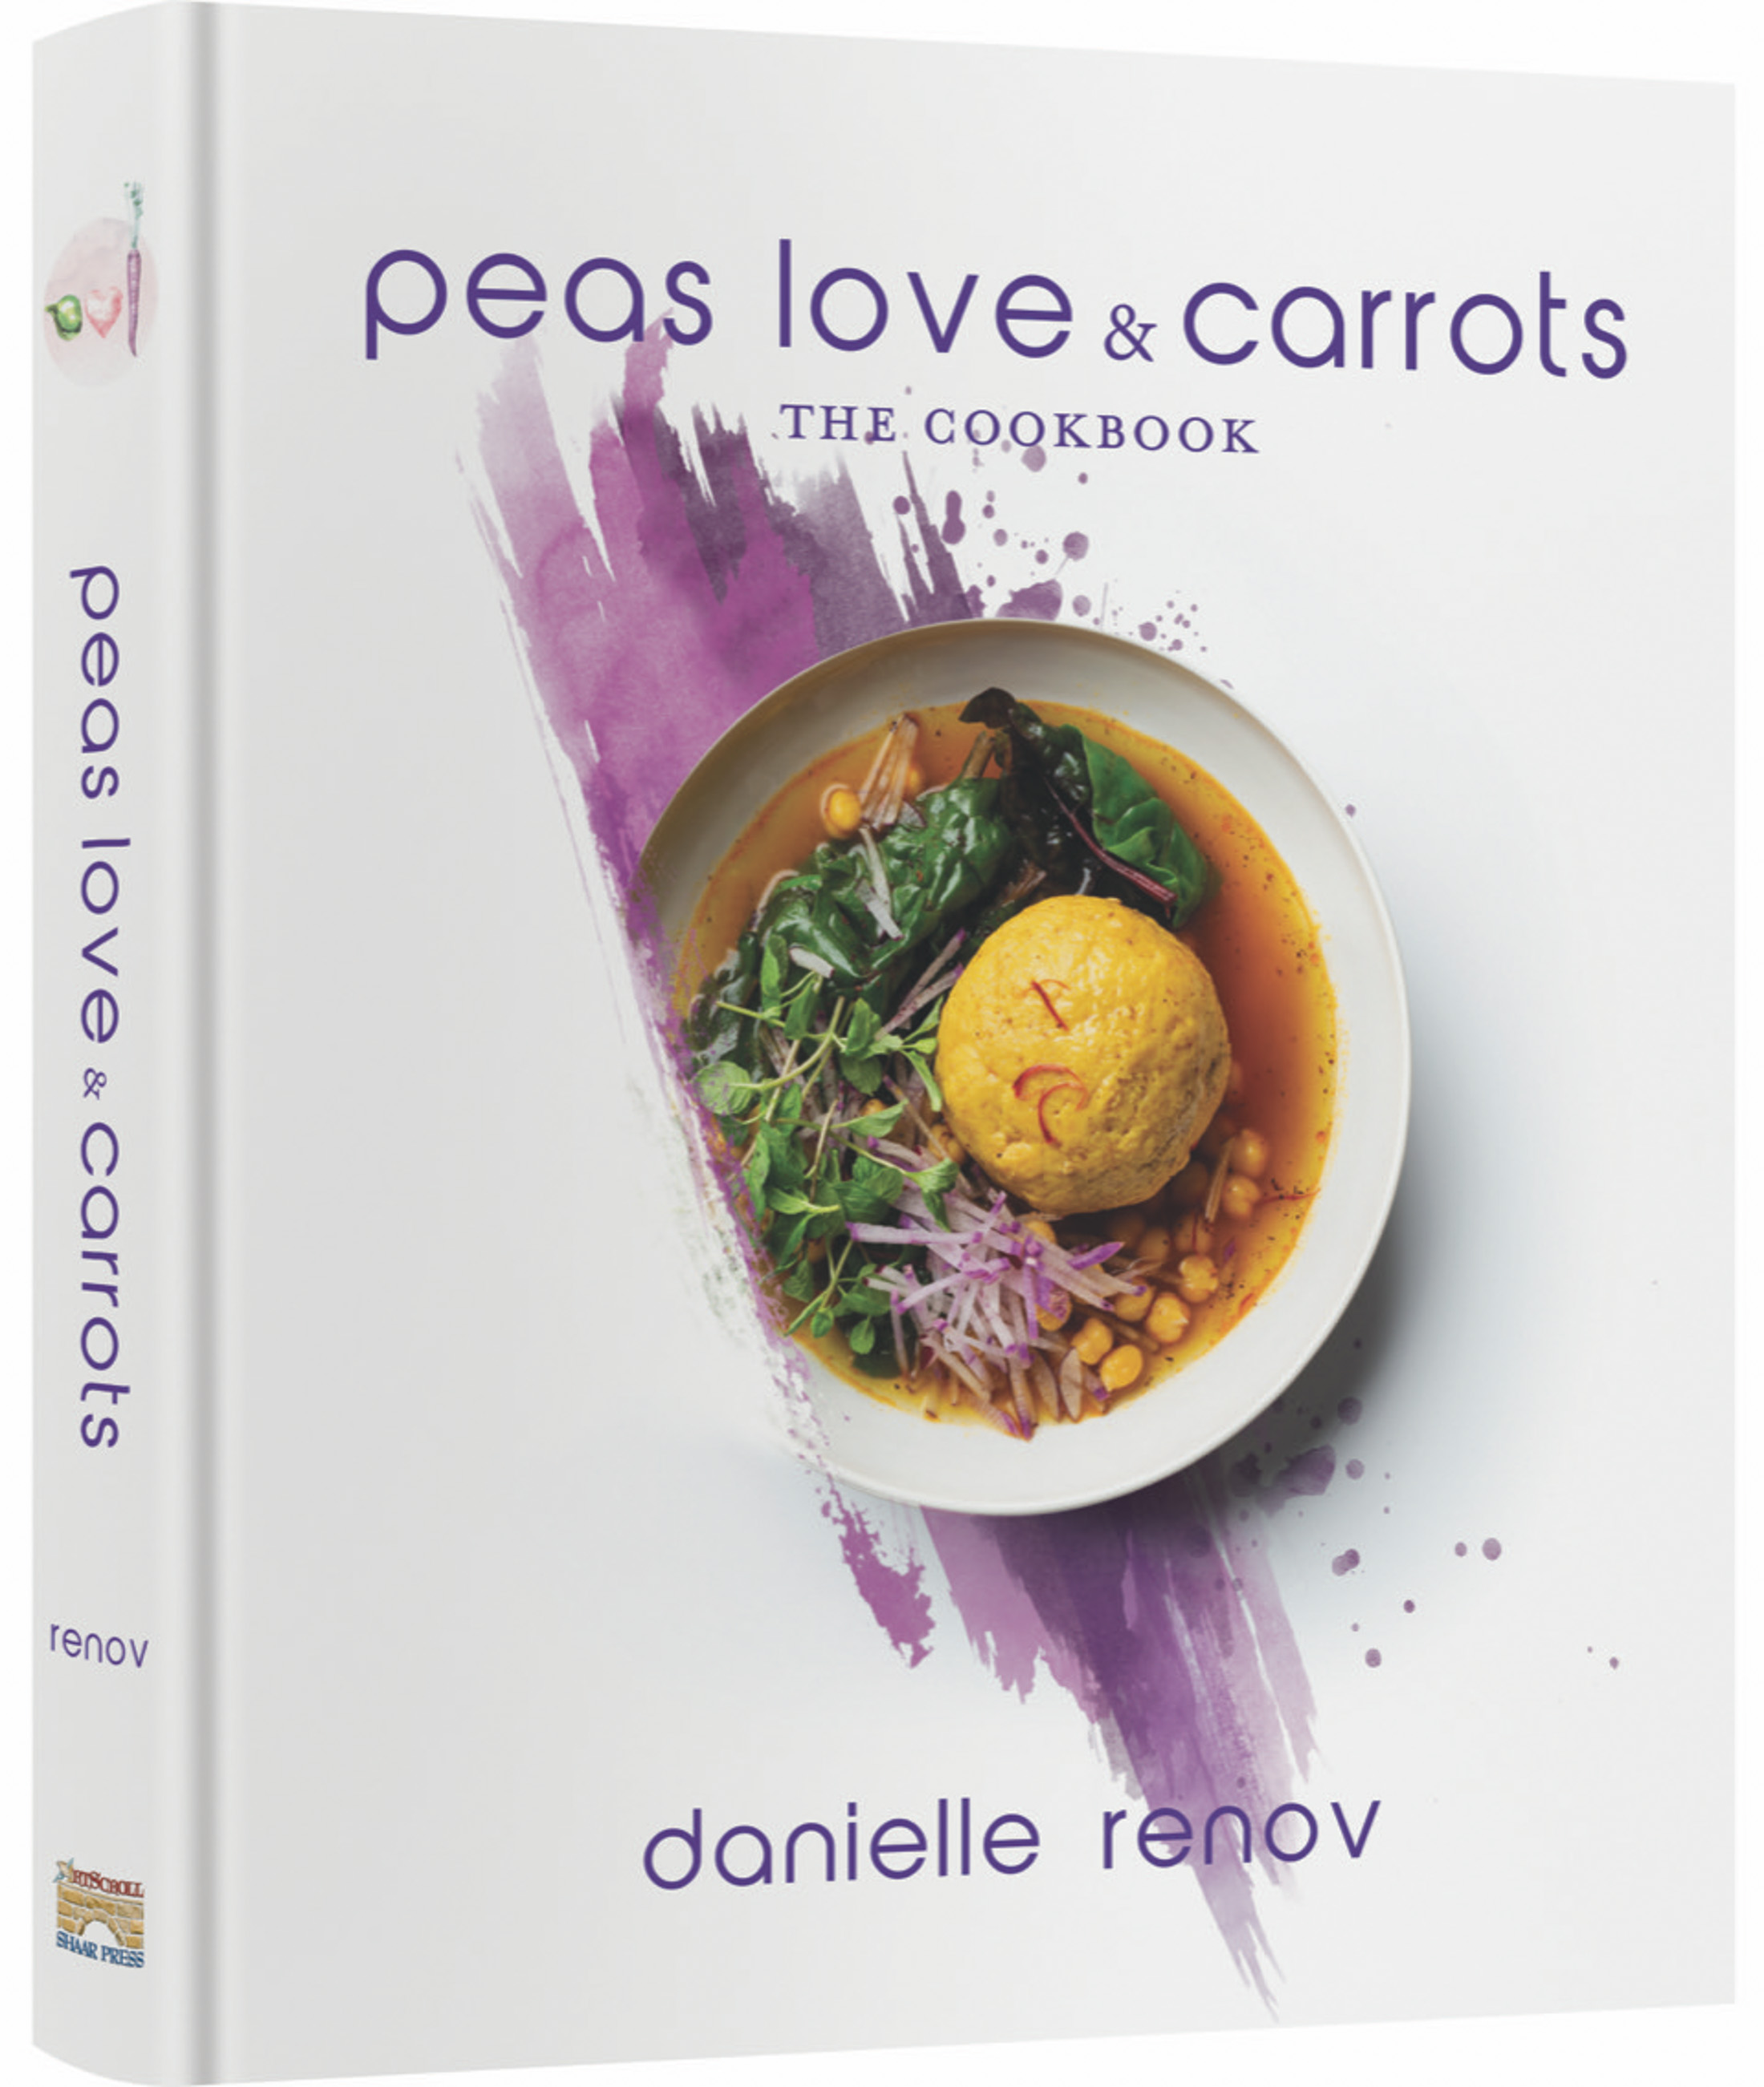
The instantly addictive dish is featured in the Jerusalem-based writer’s new cookbook, Peas Love & Carrots (Mesorah Publications; $40), which has more than 250 fun, innovative recipes. Among them is Renov’s most-Instagram-tagged dish, ‘tiny schnitsel’ (her spelling of the Hebrew pronunciation) which basically translates as chicken fingers. Also begging for attention are two-ingredient chocolate mousse (dark chocolate, eggs), sloppy franks, and a hamburger roll—ground beef burnished with mustard and wrapped in puff pastry—which could be nicknamed burger in a blanket.
Still, it’s hard not to get fixated on the potato chip schnitzel. Renov, who created her popular cooking website of the same name, calls it “a crossover schnitzel.” She created it for Passover because it’s easy to find potato chips that are kosher for the holiday. But, she says, it’s perfect for Hanukkah, “because it’s fried and commemorates oil lasting for eight days, instead of one.”
Among Renov’s innovations is to incorporate multiple sizes of potato chips in the coating, ranging from bread crumb-sized particles to large, only slightly broken-up ones. “I like texture, and if you’re going to put potato chips on chicken, you want to know they’re there to appreciate them.” She also adds potato starch, which helps the chips adhere while giving a light, crusty texture to the cutlets.
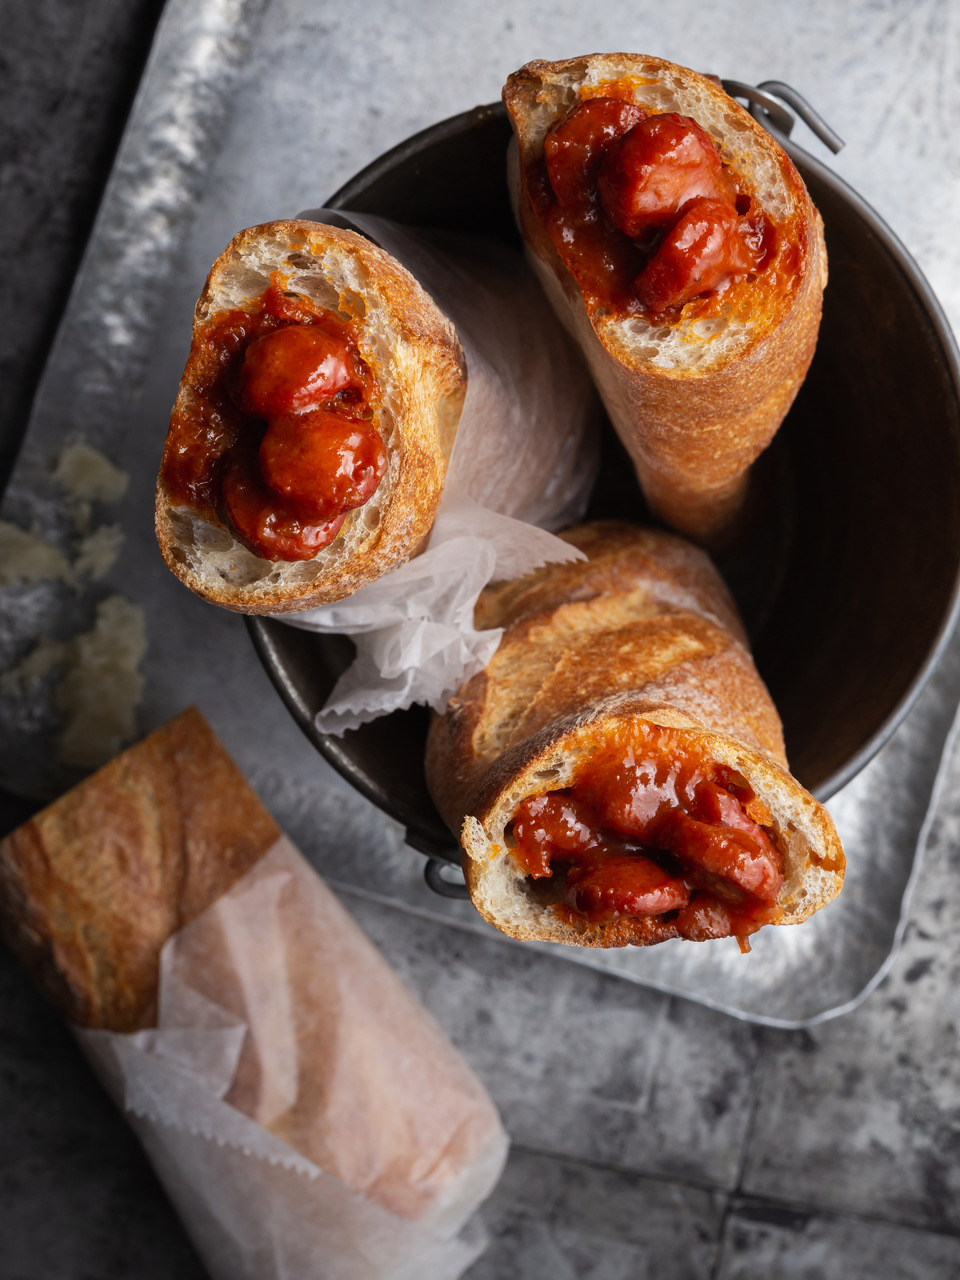
Another of Renov’s innovative recipes is sloppy franks.
Photographer: Moshe Wulliger
The finished schnitzel is magnificent: a juicy chicken cutlet with golden chips of all sizes clinging to the sides.
It’s also forgiving. The larger potato chip pieces might fall off during frying, but you can pile them on top of the schnitzel when you serve it. In warmer weather, Renov tops them with a cold, crunchy salad to contrast the richness. In the winter, spoon on some hot sauce, preferably an Asian chile crisp that amplifies the crunchiness.
“The truth is, Jewish holidays make you really creative,” says Renov. “At Hanukkah, latkes are good the first day and the last day, but you need to figure out other things to fry in between.” She’s waiting for Top Chef to do a kosher season. “Not to take away from the show’s contestants, but you have a world of prime ingredients; you can use all the cured hams and the best butter. Jewish holidays challenge you to extract the most flavor from what you’re allowed. But it’s a fun challenge.”
Tester’s Notes: The hardest part of the dish is the cleanup. Coating chicken cutlets with big and little potato chips and then frying them in a pan of oil is not a neat job. Thicker, sturdier potato chips such as Kettle brand’s work best to stand up to the business of frying; the most important thing is that they’re salted.
Chicken cutlets are widely available. If your store is out, cover boneless, skinless chicken breasts with plastic wrap and flatten them with a heavy skillet or rolling pin.
The following recipe is adapted from Peas Love & Carrots by Danielle Renov.
Potato Chip Chicken Schnitzel

Any potato chips that fall off during frying are easily piled on top.
Photographer: Kate Krader/Bloomberg
Serves 4
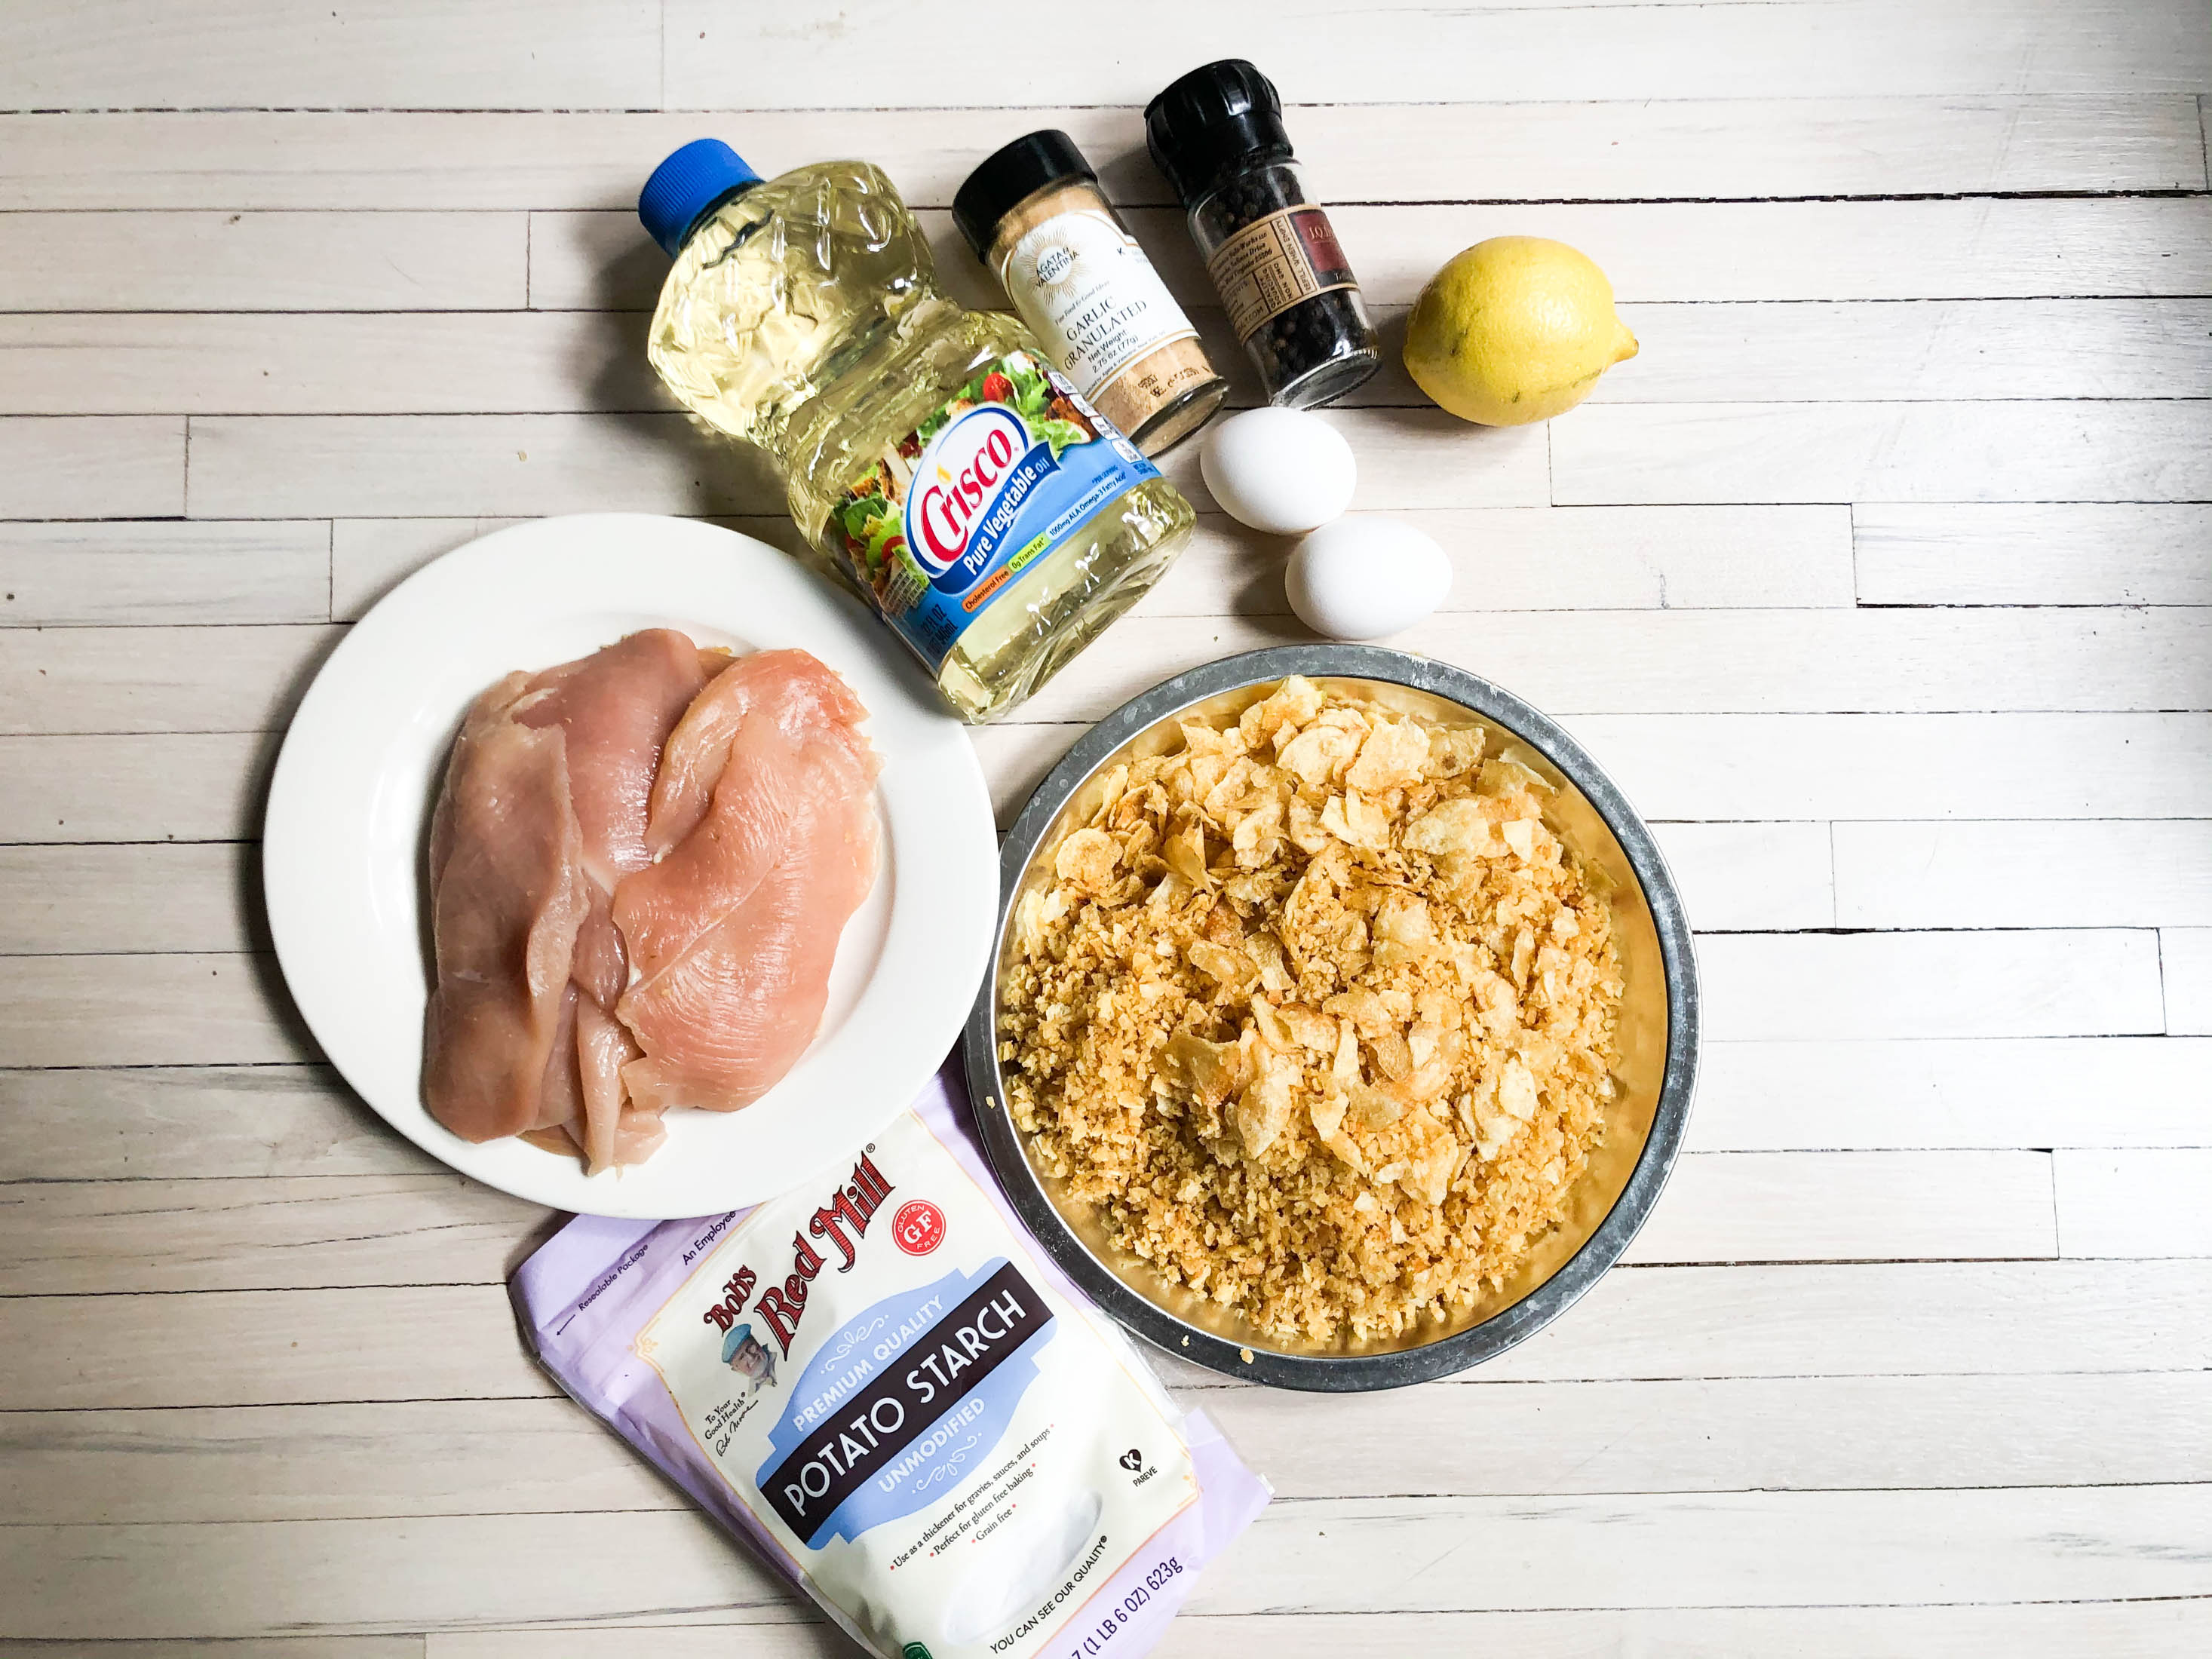
2 ½ cups potato chip crumbs (made by crushing the chips by hand or in a food processor until they resemble fine breadcrumbs), about 10 oz.
1 ½ cups potato chip shards, gently crushed by hand (they should look like broken potato chips, not crumbs), about 5 oz.
1 1/3 cups potato starch or cornstarch
2 large eggs, lightly beaten
1 tbsp. garlic powder
1 tsp. black coarsely ground black pepper
½ tsp. kosher salt
8 thin chicken cutlets (about 1 ¼ lb.), about ¼ inch thick
Vegetable oil, for frying
Lemon wedges, for serving
Chile crisp or hot sauce, for serving (optional)
Note the different sizes of potato chips used for the coating.
Photographer: Kate Krader/Bloomberg
In a large bowl, combine all the potato chips and potato starch. In another large, shallow dish, combine the eggs, garlic powder, pepper, and salt. Dip each cutlet in the egg mixture and then into potato chip mixture, using your hands to help press the potato chips onto the chicken.
Heat 1 inch of oil in a frying pan over high heat. When the oil is almost shimmering, carefully add 2 to 3 pieces of shnitzel to the pan; do not overcrowd the pan, or the chicken will steam and not get crunchy. Fry for about 3 minutes, until golden brown at the edges. Flip the chicken and fry for 1 to 2 minutes more to brown the bottom.
Transfer to a cooling rack to allow any excess oil to drip off. Fry the remaining cutlets, adjusting the heat if necessary. Serve the cutlets with lemon wedges and Chile crisp or hot sauce, if desired.