The first course is my favorite course of any meal. Those few minutes before everyone comes home from shul, when the table is set beautifully, and there are tons of appetizers, dips and salads plated and scattered so precisely and elegantly over the table top brings me pure joy. My hours spent cooking in my small, Israeli, not-enough-counterspace-or-cabinets-kitchen all become worth it. I look at my table, breath deeply and think to myself how beautiful shabbos really is.
Then they come home.

Within minutes every single toy has come off the shelves, out of boxes and thrown all over the floor only to be abandoned seconds later to the more fun, fort building using every one of the blankets taken off of the freshly made beds.
Even with the all this chaos swirling around my house, when we finally make it to our seats and I see all the mouthwatering dishes confetti-ed across the table I remember what a privilege it is to cook and feed the people we love.
Now that we’ve established just how important the first course is to me, lets talk about what it actually takes to put out such an array of food.
It takes a few days of being extremely organized to create a truly spectacular first course. Dips and sauces take time to prepare and if you leave it all till Friday, there just won’t be time. So, I usually start by making anything that is ok sitting in the fridge or meant to be served cold, first. That could include salad dressings, dips, and marinated salads (think carrots or peppers). Next I move on to my more time-consuming elements. I”ll boil any grains that I’m going to include in salads and roast any vegetables. Lastly, I make my mayo because it has raw eggs and cook my fish so that its as fresh as possible. Then before lunch, all I have to do is cut up whatever fresh vegetables I need and I’m good to go.
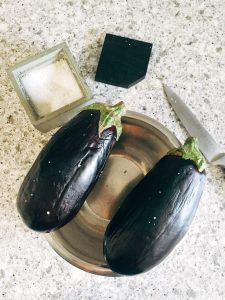
All that is fine, until you have a week where everything is going wrong and cooking becomes an afterthought. So, you have to pull a meal together in an hour. In those situations I make four fast and easy dishes. I make mayo, salsa, tahini and this eggplant.
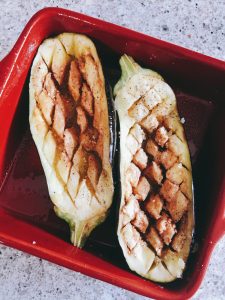
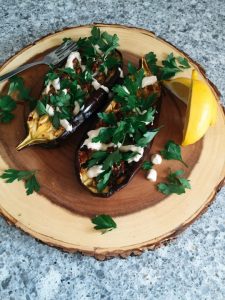
It is so simple and so delicious. The cooking time takes about an hour but the active work takes less than 5 minutes. You get so much flavor for such little effort and it looks so insanely beautiful on the table. In fact, I don’t only make this when I’m short on time because no matter how many people you are serving, it always gets finished!
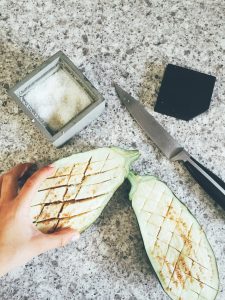
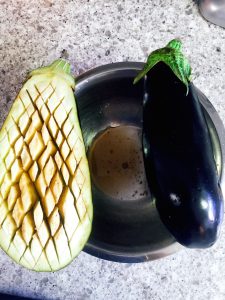
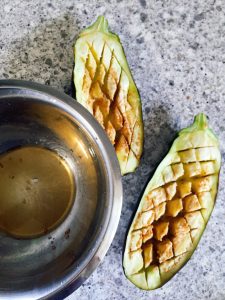
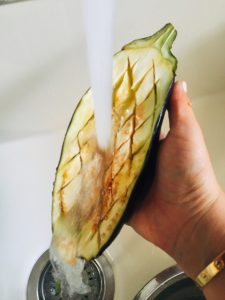
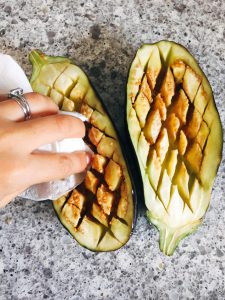
Cross-hatching the eggplant adds tons of little corners to the eggplant that get perfectly crispy and it makes it so easy to just scoop out the actual flesh. I like to serve it with a drizzle of tehini, some fresh parsley and when I want to get fancy I’ll sometimes add some chopped tomato and shallots.